Basic Inventory
Creating Your First Grid
When creating your first Grid ItemManager the .createGrid() method will be your friend! With it you will want to specify all of the different properties of your Grid. If you've ever used Roact or Fusion this may seem familiar.
Here is an example of it in action:
local GridPack = require(game:GetService("ReplicatedStorage").Packages.GridPack)
local screenGui = Instance.new("ScreenGui")
screenGui.Name = "GridPack"
screenGui.ResetOnSpawn = false
screenGui.ZIndexBehavior = Enum.ZIndexBehavior.Sibling
screenGui.Parent = game:GetService("Players").LocalPlayer.PlayerGui
local myFirstGrid = GridPack.createGrid({
Parent = screenGui, -- Parent of the grid container.
Visible = true, -- If the grid is visible, changes the containers visible property. Also disables item interaction on all items inside. BY DEFAULT THIS IS SET TO FALSE to prevent the inventory being shown when first creating the Grid.
Assets = {
Slot = nil, -- Add your own CanvasGroup here to customize the slots in the grid.
},
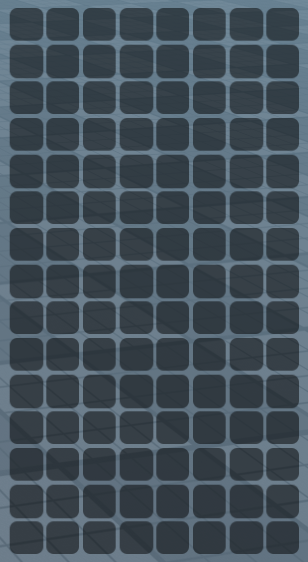
GridSize = Vector2.new(8, 15), -- How many slots the grid has on the X and Y axes.
SlotAspectRatio = 1, -- Aspect ratio of one slot in the grid, helps with different resolutions if you're using scale instead of offset.
AnchorPoint = Vector2.new(0, 0.5), -- Anchor point of the grid container.
Position = UDim2.new(0, 20, 0.5, 0), -- Position of the grid container.
Size = UDim2.fromScale(0.25, 0.5), -- Size of the grid container.
Metadata = {
-- Here you are free to store any values you want.
},
})
You should now have a Grid on your screen once you join the game!
If the example above doesn't work for you, please check that the script is a LocalScript and is located in a client script compatible directory (StarterPlayer.StarterPlayerScripts is recommended!). If it still doesn't work, please make sure that the script is not a normal script with RunContext set to Client, and is instead a LocalScript!
Adding Items
Adding items to grids is straight forward. But before adding an Item you will ofcourse have to create it! This is done in a simmilar way as creating a grid, only instead you use the .createItem() method which also comes with different properties.
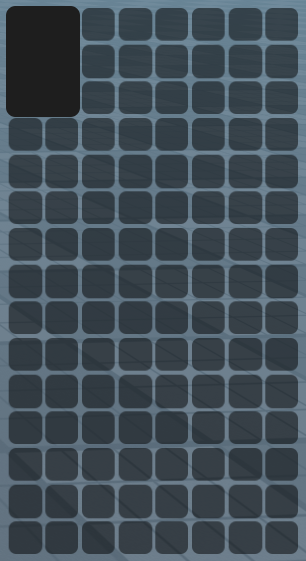
Here is an example showing an item being created and added to the grid we just created:
-- Continuing from last example.

local myFirstItem = GridPack.createItem({
    Position = Vector2.new(0, 0), -- Position in a Grid.
    Size = Vector2.new(2, 3), -- Size in a Grid.

    Assets = {
        Item = nil, -- Add a custom CanvasGroup here to change the item's gui element. (See customizing guide for more info)
    },

    Metadata = {
        -- Here you are free to store any values you want.
    },
})

myFirstGrid:AddItem(myFirstItem) -- Add the item to the Grid.
The item should now be added to the grid and should also be draggable!